Showing posts with label Nestabilities. Show all posts

Friday, 19 October 2012

A couple of notebooks...

Hi Susan here...

I always make notebooks for presents, especially for my girls, we are all big note takers and have several notebooks for different things on the go all the time.

Here are just a couple that I have made just lately.....


This is the side view of the notebook, I always try to use similar colours for the paper that I used in the main book cover.
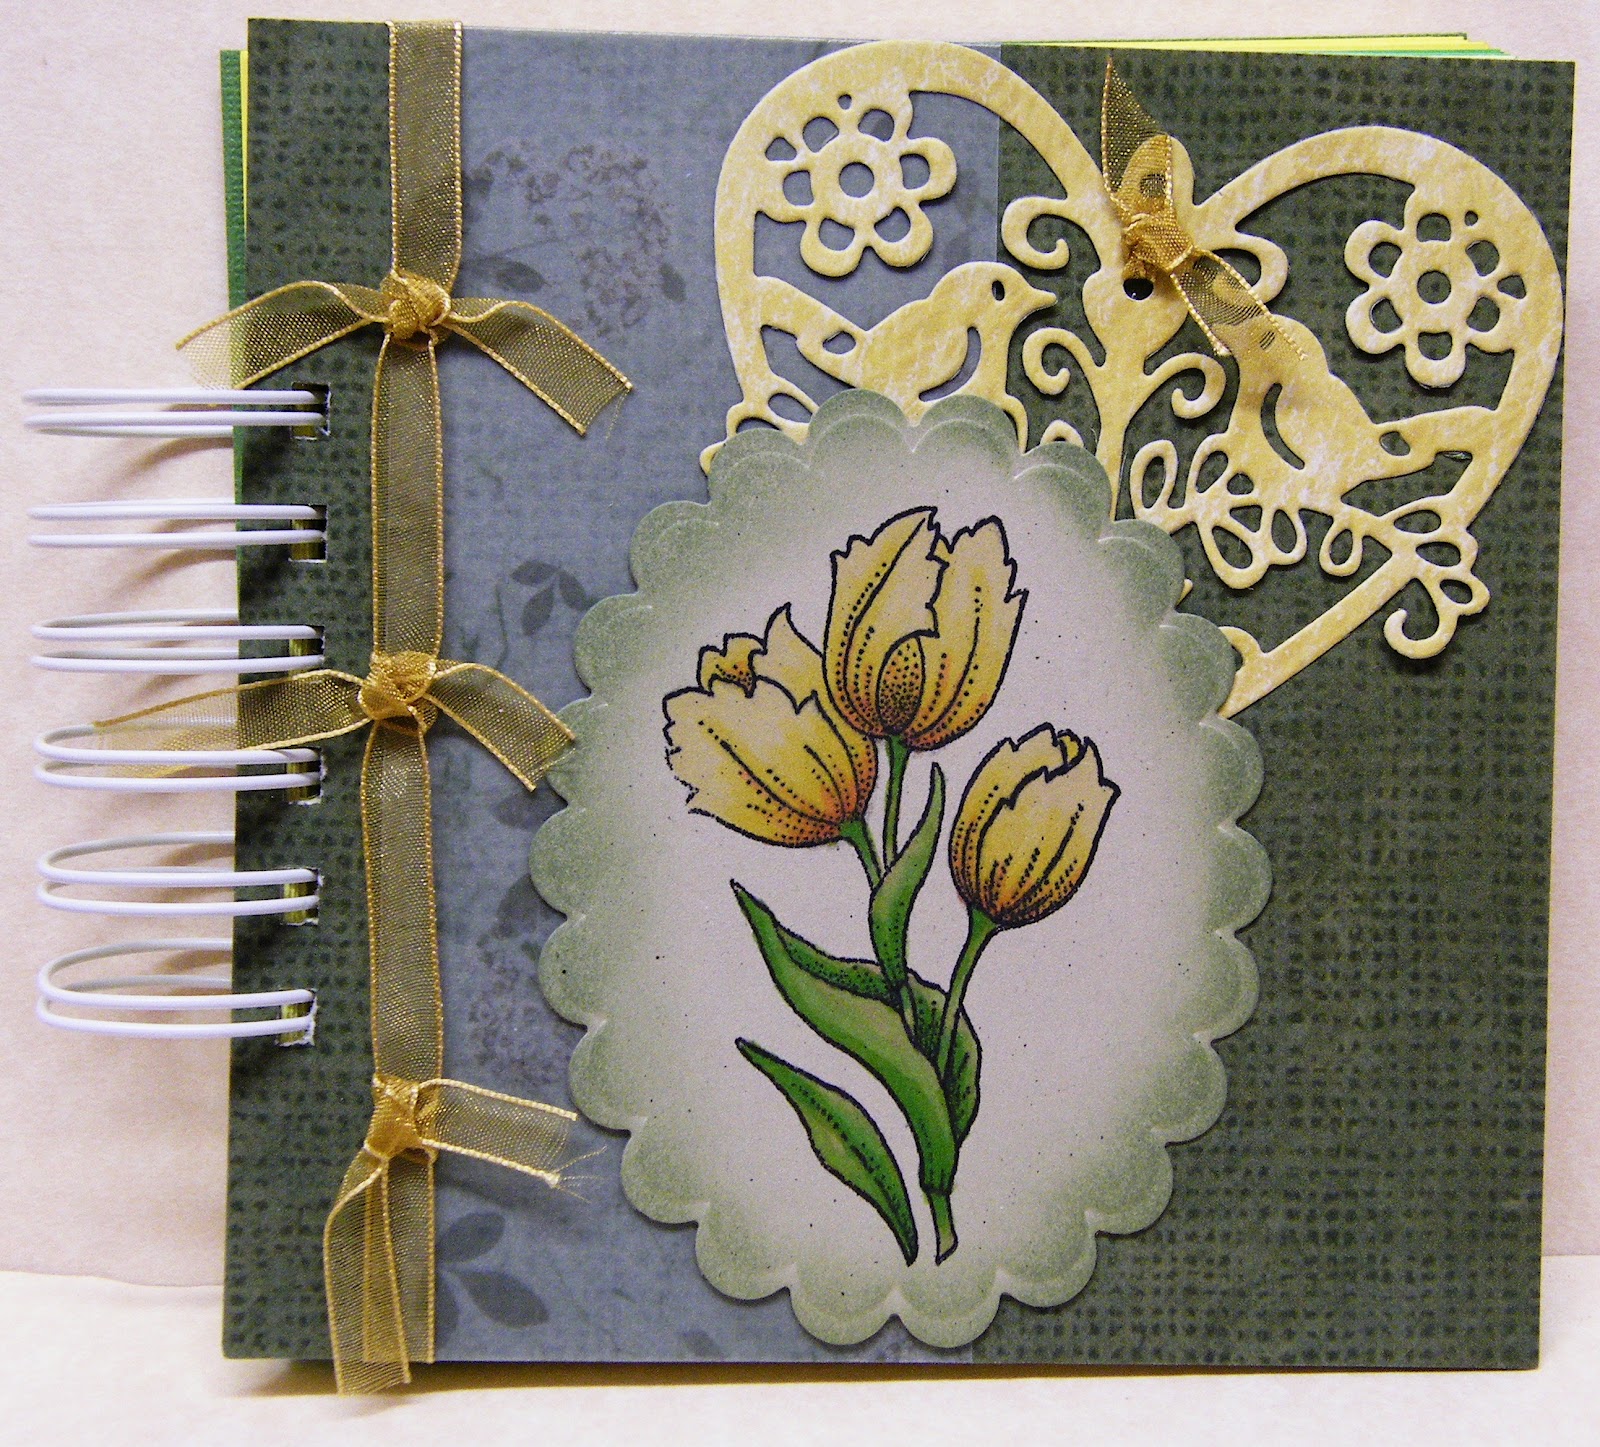

This is a closeup of the front cover. I use a firm card for the covers then use backing paper that I glue in place to cover the card before I start decorating.
I wanted to make my notebooks quite flat this year, they are usually very highly decorated, but sometimes you couldn't carry them in your handbags without a cover in case some of the embellishments got damaged.

My backing paper was from an old 12x12 scrapbooking pad that I have had for ages, I then used a tiny strip of vellum down the side.
The beautiful heart die cut is from Marianne Designs and I love it, it is so special and looks amazing.
The ribbon is from our local market.


This is a close up of the stamp image, it is part of a set from Chocolate Baroque. It is a new buy, and is gorgeous, My favourite spring flowers are tulips and I fell in love with this stamp set the moment I saw it.
I have used chalks to colour the image then used a nestability for the backer and I used Tim Holtz Distress Inks for the edges.


My second notebook uses the other part of the stamp set from Chocolate Baroque.


I used a plain white paper for the inside of this notebook.


I made this book slightly different than normal, I glued the backing paper onto the card and then distressed the edges using a pair of scissors.
I know this one is slightly more delicate in design than the previous one with the butterflies, but hey so this notebook is not carried in a handbag, I will probably make many more that can be.

The backing paper is from my stash, it is a gorgeous warm brown with a pink design. This is what gave me the inspiration for my colour scheme. Papers can do this to you, you can look at a piece of paper and instantly a design comes into your head, I wasn't sure I would make a card or a notebook, but I have a bit more so a card is not out of the question.
The butterflies are a die, I have used distress inks to colour them and then added pearls that we buy from our local market for the bodies.
The ribbon is from our local market. It is a beautiful woven ribbon with a little scalloped edge.


As I told you before this image is the second part of the stamp set from Chocolate Baroque. I used Promarkers to colour this image and then inked the edges with Distress Inks.

I hope you have enjoyed looking and many thanks for your comments.
Love and hugs
Susan xxx


Thursday, 30 September 2010

Halloween....

Hi Susan here...
Can you believe its Thursday again...and time for another challenge over at Aud Sentiments Challenge Blog. The theme this time is 'Use any Halloween Sentiment' how easy is that!! Come and join in the fun with us on this challenge, for full details of the challenge call across to Aud Sentiments. This time around we are lucky enough to have The Cutting Cafe as our sponsor. They have such a variety of products over there all of which are so much fun to work with! We were lucky enough to use some of the images for our cards! They are giving the winner of this challenge 3 sets of their choice!


 For my card, which is quite simple and 'clean' looking, I used a two tone grey backing card from The Paper Mill Shop and inked the edges with black then I used a spiders web design from Tiddlyinks and embossed it with black sparkle embossing powder. Here and there I attached some black and clear gems, to add extra sparkle!!

 
This is one of the few images I used from The Cutting Cafe, I have used crackle glaze over the body and allowed it to dray and do its 'thing'. I was really pleased with the effect!! The little moving eyes are from my stash.

The spider was also an image from the same set, I cut it out and added a black pompom for its body....eeeek, nobody likes it here, we all hate spiders!!! I have hung it on a piece of acetate so that it bobs about over the web, eeek!

This great sentiment was my final image to use I embellished it with gems and cut it out with a nestability. Then I slightly inked the edges with black ink.

I made a simple little gift bag full of chocolate sweets. The witches hat was made by copying an image twice and flipping one over then sticking them together with the edge of the treat bag inside.

I am entering this card into the following challenges:-

Thank you for taking the time to look at my card, I hope you liked it.
Love Susan
xxx

Friday, 28 May 2010

Someone Special ....

Hi Susan again with another card to show you.

This was made using a sketch from The Sweet Stop Sketch Challenge Blog, I turned the sketch on its side for a slightly different look but still keeping to the sketch.

I have used a selection of candy coloured paper from my stock, sorry can't remember where its from. I thought the stamped image called for lots of soft candy colours and textures so thats what I used.

The lace is from my local market as always, love shopping around for ribbons and lace.


This is a wooden based stamp from Penny Black which I love. I have coloured it in using soft toned chalks and the flowers on the image I coloured in using Pro-Markers. I mat and layered it using Nestabilities.


The large yellow/orange flowers I made myself using a punch, and colour edging the petals with inks then shaping and putting together with a spacer and brad in the centre. The smaller flowers are from Bunny Zoes Crafts which I edge coloured to match my colour scheme.


The label I made on my computer, and mat and layered it to match the main image.

I am entering this card in the following challenges:-


Thank you so much for taking the time to look at my creation, I hope you like it.
Love Susan
xxx

Wednesday, 5 May 2010

Innocence


I love using these stamps by Sarah Kay, they are such innocent looking images of a bygone era.
The papers I used were from my stash, I must have had for years....


The lace I surrounded the image with was from my local market, I love using lace and ribbons on my cards especially when the images are so cute. I use distressing inks and pro-markers to colour in my stamped image.
The large flower I made using two sizes of Spellbinders scalloped nestabilities using an old book for the paper, I used distressing ink to colour the paper and screwed it up as much as possible to give a really soft ruffled effect before I joined all the layers together with the button in the middle. The other flowers that surround this one are from the Prima range.
The corner was made using a Sizzix die and coating with clear Glossy Accents.

I hope you like my creation, thank you for looking.
Love Susan xxx


Sunday, 2 May 2010

'Happy Birthday'

For this card I have used a swirly tree stamp by Kanban and stamped straight onto acetate. I used a nestabilitie die to make an aperture in the front of my main card and then attached the acetate image behind. The papers I have used are by Making Memories....

...I have glittered all my flowers and the the scalloped edge at the top of the card, the ribbons and buttons I already had in my stash...


I have crocheted my own flower and layered it with some other flowers that I already had in my stash, the sentiment was a really old 'rub on' that I have had for years!!

Thanks for looking

big hugs

Emma xxx


Saturday, 1 May 2010

'Guitarman'

I was asked to make a card for a friends son who was interested in music....

He plays all the time on his guitar, so that was enough information to start the ball rolling. The background papers were from my stash, but the music sheet and guitars were from Google Images, a great source for images. I also copied from the internet the treble cleff, which I printed onto card and embossed it two times after I cut it out. The text was designed on Serif, using the text shape tool. I mat and layered it using Spellbinders nestabilities classic scalloped circle dies

This was a simple card but I enjoyed making it, and my friend was really pleased with it.

Hope you like my creation, thanks for looking.

Love Susan xxx